HOW to download and install and fix REALTEK audio driver in Telugu
NOTE: DOWNLOAD THE LATEST VERSION AVAILABLE & DON’T DOWNLOAD IF YOU HAVE “(HP)” MENTIONED IN THE FILE NAME BECAUSE “(HP)” MEANS THAT THE DRIVER IS ONLY FOR HP LAPTOP AND DESKTOP
Text Instructions: –
1) Go to control panel
2) Click on “uninstall a program” (or) “programs and features”
3) Select “Realtek HD audio driver” and click on “uninstall”
4) Click on “next”
5) Click on “finish” (your computer will restart)
6) Go to “This PC”
7) Go inside your C: Drive
8) Go inside “program files” folder
9) If you have “Realtek” folder inside it then delete it (If you don’t have Realtek folder then it’s ok)
10) Go back
11) Go inside “program files (x86)” folder
12) If you have “Realtek” folder inside it then delete it
13) Now go to your browser
14) Copy and paste this link in to your browser and hit enter
15) (OPTIONAL) If that doesn’t work then use this link : (RIGHT CLICK ON DOWNLOAD AND CLICK ON “SAVE AS”)
16) After downloading double click the downloaded file
17) Click on the “three dots”
18) Click on “make new folder” and name it “Realtek” and hit enter
19) Click on “OK”
20) Click on “Extract”
21) Go inside the extracted folder
22) Now right click “This PC” and click on “Properties”
23) Check whether your “System type” is 64-Bit or 32-Bit
24) If you have 64-Bit windows 10 then go inside WIN64 folder. If you have 32-Bit windows 10 then go inside WIN32 folder
25) Copy the location (as said in the video)
26) Now right click start button and select “Device Manager”
27) Now select “Sound, video and game controllers” and expand it
28) Right click “High Definition Audio device” and click on update driver
29) Click on “Browse my computer for driver software”
30) Now paste the copied location in the box and click on “Next”
31) Restart your computer
32) Open control panel and change “View by” to large icons
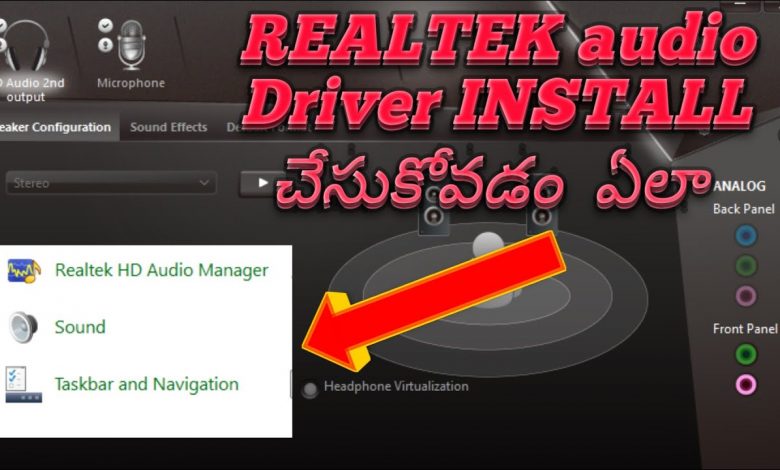
33) Open Realtek HD audio manager
34) If you still can’t hear audio then Click on “connector settings” and enable “disable front panel jack detection” to enable front panel audio
35) To enable back panel audio connect the audio device into appropriate port at the back side
36) Then you’ll see a window. Select the device and click on “OK” and that’s it
Thanks for watching!!!!!!… IF YOU FIND THIS VIDEO HELPFUL THEN PLEASE DO CONSIDER SUBSCRIBING TO OUR CHANNEL…..BYE
DISCRIPTION https://www.station-drivers.com/index.php?option=com_remository&Itemid=353&func=startdown&id=4596&lang=en
