How to download and install realtek hd audio driver windows 11 High definition audio driver
How to download and install realtek high definition audio driver windows 11
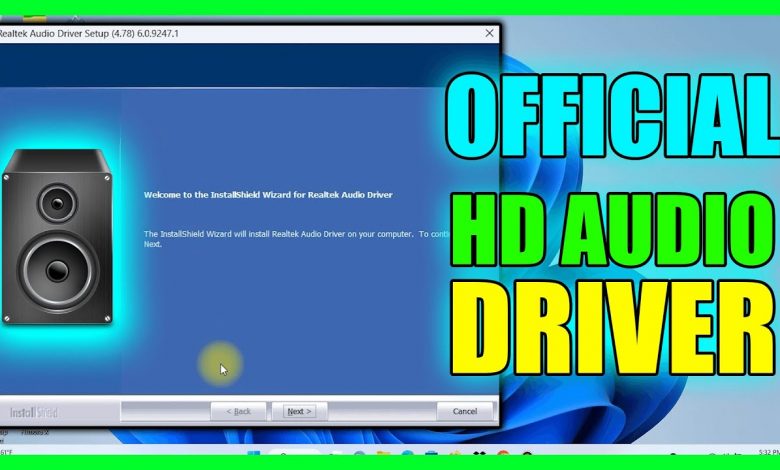
In this video, I’ll show you the official website to download and install realtek high definition audio driver on windows 11.
Download Link: https://bit.ly/realtekhdaudio
Hello friends welcome to nepackz and today I am showing you how to download and install realtek high definition audio driver windows 11 so friends i can explain everything in this video how to download and how to install realtek driver and friends if you like this video then subscribe to the ig tech channel for more videos.
Manual driver install by INF :
—————————————
Step 1. Go to “Control Panel”and select “Hardware and Sound”.
Step 2. Select “Device Manager” on Devices and Printers
Step 3. Right click on the “High Definition Audio Device” of Device Manager and
select “Update Driver Software” on pop up menu.
Step 4. Select “Browse my computer for driver software” option.
Step 5. Browse Realtek Audio driver location and press “Next” button.
Step 6. Installing Realtek Audio driver.
Step 7. Windows has finished installing the Realtek audio driver.
Update Driver:
—————————————
Windows 2000 , XP :
Step 1. Follow Step 2,3,4 described in [Setup at first time] above to complete
the procedure.
Windows Vista, Windows7, Windows 8, Windows 8.1, Windows 10 :
Step 1. Run setup.exe, it will remove the original driver in your system.
Step 2. Click “Next” to remove the original audio driver in your system.
Step 3. Once after the original driver removed , reboot the computer.
Step 4. It will install audio driver automatically after computer restarted.
—————————————
Remove Driver:
—————————————
Windows 2000 , XP :
Step 1. Go to StartSettingsControl Panel.
Step 2. Select [Add or Remove Programs] icon.
Step 3. Select “Realtek High Definition Audio Driver” and press [Remove]
button.
Step 4. Click on [Yes] to finish the uninstallation.
Step 5. At the end of the procedure, select to restart the system and press
[Finish] to complete the uninstallation.
Windows Vista, Windows7 :
Step 1. Go to StartControl Panel.
Step 2. Select [Programs] icon.
Step 3. Select [Programs and Features] icon.
Step 4. Select “Realtek High Definition Audio Driver” and press [uninstall]
button.
Step 5. Click on [Yes] to finish the uninstallation.
Step 6. At the end of the procedure, select to restart the system and press
[Finish] to complete the uninstallation.
Windows 8, Windows 8.1, Windows 10 :
Step 1. Go to Apps.
Step 2. Select “Control Panel” in “Windows System”
Step 3. Select [Programs and Features] icon.
Step 4. Select “Realtek High Definition Audio Driver” and press [uninstall]
button.
Step 5. Click on [Yes] to finish the uninstallation.
Step 6. At the end of the procedure, select to restart the system and press
[Finish] to complete the uninstallation.
—————————————
Driver uninstall in Device Manager :
—————————————
Step 1. Go to “Control Panel”and select “Hardware and Sound”.
Step 2. Select “Device Manager” on Devices and Printers
Step 3. Right click on the “Realtek High Definition Audio” of Device Manager and
select “Uninstall” on pop up menu.
Step 4. Select the option “Delete the driver software for this device” and press
“OK” button on dialog “Confirm Device Uninstall”.
Step 5. Reboot system.
Related Topics on How to download and install realtek hd audio driver windows 11
realtek audio driver windows 11 download,how to download realtek audio driver for windows 11,how to download realtek audio driver for windows 11 in hindi,how to download realtek audio driver,how to install realtek hd audio driver windows 11,how to install realtek hd audio driver in windows 11,how to download and install realtek high definition audio driver windows 11,realtek audio driver windows 11 64 bit, high definition audio driver
