Kyocera Mac Driver with Job Codes

This is a quick walk through on how to install a Kyocera print driver on a Mac with job codes.
Please download the driver – https://www.kyoceradocumentsolutions.us/en/support/downloads.html
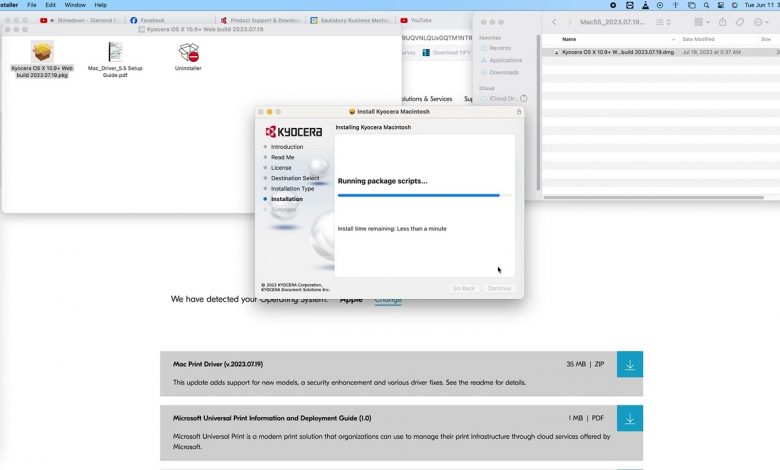
Open the downloaded file once complete
You will have to double click the folder once it has been extracted
Then open the Kyocera*******.DMG
Double click the kyocera OS X******.pkg
Go through the installer like you would any other application install on your Mac
Once complete go to your system preferences and then Printers & Scanners
Click Add Printer, Scanner, or Fax…
Across the top of the next window you should see 3 icons across the top select the one that looks like a globe.
In the Address field put the IP address of your copier
Protocol = Line Printer Daemon – LPD
Leave the Queue: blank
Name = whatever will help you remember which Printer/MFP/Copier is this specific one.
Location I normally leave black
Under use choose select software
Make sure you choose your specific model number and click OK
On the next screen Click Add
You do not need to skip when Setting up Kyocera with Job Codes, or what ever its labeled as, comes up. I did that because I do not have a machine here to pull the information from.
Once complete open your Kyocera Print Panel app inside your applications folder
Select the Printer you just installed
Click the Basic tab on the left and set the defaults the way you would like them to be every time you print.
Go to the Job tab on the left
Put a check mark in the box for Job Accounting and put your code in the blank field.
Then click Apply and then OK
All done!
