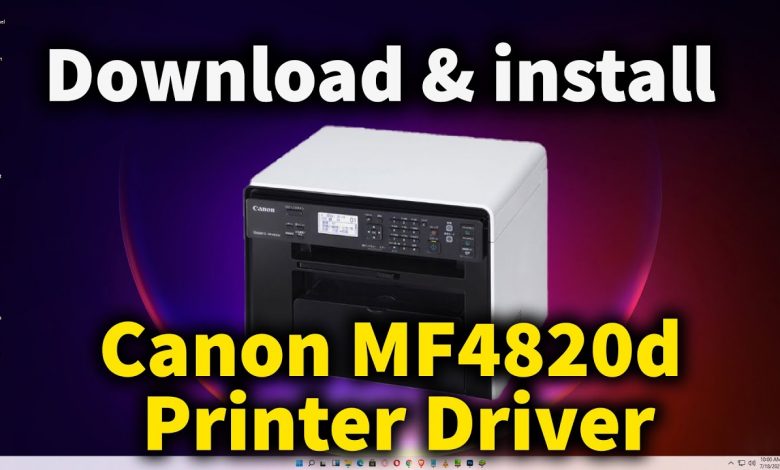
How to Install Canon imageCLASS MF4820d Printer Driver in Windows 11 or Windows 10

First of all, turn on your PC. Then connect the Canon imageCLASS MF4820d printer USB cable from printer to computer. Power on the printer. Then go to the link given in the below ( link
https://in.canon/en/support/imageCLASS%20MF4820d/model ) . The Canon website is automatically open and it automatically detects operating systems. If you are using Windows 11 operating system it is not supported by this website but don’t worry it’s automatically redirect you to the Windows 10 drivers and its work on the windows 11 operating system.
If you want to change the operating system then you can change the operating system by clicking on the operating system. In type just changed to driver. And just click on the search. Then we find our drivers then click on the drivers. Then click on the download . Then you can Extract the file or directly run as administrator this file ..
for Manual settings Just click on the start and go to the control panel click on the devices and printer Click on add a printer . Just clicking on the printer that I want isn’t listed . Click on the add a local printer on network printer with Manual settings. In port just select any USB port. Then click on the have disk go to the folder that we Extract . go to folder & click on MF44SCN.inf file Just click on the ok click on Canon MF4820d Series UFRII LT just click on next . click on finish And our printer is installed .
link
https://in.canon/en/support/imageCLASS%20MF4820d/model
